The best Backpacking meal recipe…
Hey there, fellow adventurers and hungry humans! Penelope here, and if there’s one thing thousands of miles on the trail teaches you, it’s the sacred art of the perfect backpacking meal. It needs to be lightweight, easy to cook (read: just add water), provide sustained energy, protein, and essential nutrients to keep you going strong, mile after mile. (& actually taste good after a long day of moving your body)
Today, I’m pulling back the curtain on a true Triple Crown classic: Dehydrated Beans & Rice. This isn’t gourmet dining, folks, but it’s delicious, dirt-cheap, and gets the job done. This is the kind of meal that leaves you feeling deeply satisfied, a comfort you genuinely never get tired of, even after weeks of eating it.
Why this Refried Beans & Rice Recipe Reigns Supreme on the Trail:
- Ultra-Lightweight: Dehydrated beans and instant rice weigh next to nothing. Every ounce counts when your home is on your back. (~120 grams) for a large meal.
- Nutritional Powerhouse: Beans and rice together form a complete protein, giving you sustained energy. Plus, fiber! Your trail gut will thank you.
- Simple as Can Be: No fancy cooking needed. Just a bit of water—hot for a quick meal, or cold for a stove-free soak—and boom – dinner is served.
- No Dehydrator Needed: All the ingredients can be found pre-dehydrated at an affordable price, so you don’t need any fancy equipment to get started.
- Budget-Friendly: Seriously, you can make a ton of these for pennies compared to expensive store-bought backpacking meals. Even when I use mostly organic ingredients, making them in bulk is still a fraction of the cost.
- Customizable: It’s a blank canvas for whatever spices or dehydrated veggies you fancy.
What You’ll Need For the Ultimate Trail Dinner:
- Dehydrated Beans: I recommend refried black or pinto beans since whole beans take much longer to rehydrate. You can buy the organic ones I use here. I can usually make about 6.5 portions from this 1 lb bag
- Instant Rice: Not regular rice – it takes too long to cook on the trail. Instant rice is key for quick rehydration.
- Spices & Veggies (Optional Add-ins for Flavor & Nutrients): Taco seasoning, dehydrated veggies, onions, bell peppers or anything you like. I like these Organic veggies.
- Nutritional Yeast: For that cheesy flavor and a good source of B vitamins. I buy this brand in bulk here.
- Freezer Ziplock Bags (Quart size): Make sure it’s a freezer bag.
- Extra Protein: You can also add Textured Vegetable Protein (TVP) for an additional protein boost.
This recipe is designed for one hungry hiker, ready to be devoured after a long day.
**To support dietary diversity on a long hike, I make batches with both white and brown rice and black and pinto beans.
How to Prepare (At Home):
- Measure out 2/3 cup (70g) of dehydrated beans and 1/3 cup (31g) of instant rice into one freezer-safe Ziplock bag.
- Add 1 -3 Teaspoons (I use 3) each of taco seasoning (5-7.5g), nutritional yeast (3g), and dehydrated onions and or red peppers (~5g per Tbs) directly into the bag. Give it a good shake to mix everything up. This step is optional, but it’s highly recommended.
- Squeeze out as much air as possible, then seal the bag tightly.
- Repeat for as many meals as you need for your trip! Label them with a permanent marker (e.g., “Beans & Rice”).
*I increase the amount of beans and rice as my thru-hike progresses.
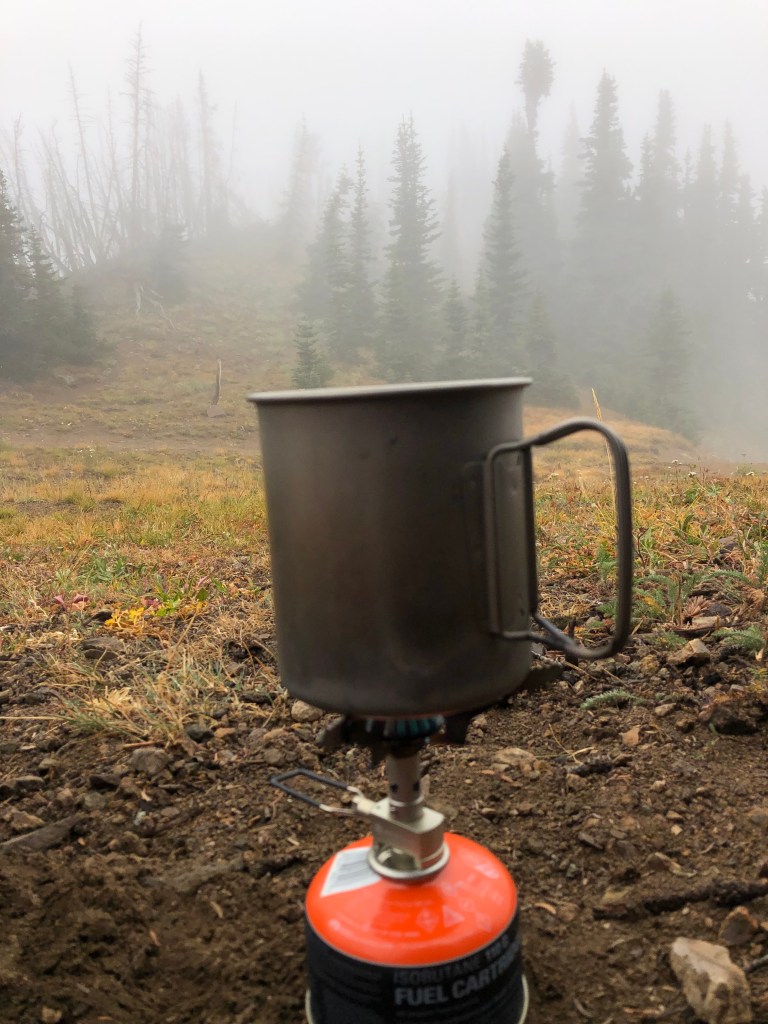
How to Cook (On the Trail):
- Boil water: Bring roughly 1 to 1.5 cups of water to a light boil in your backpacking pot. The exact amount depends on how thick or soupy you like it. Start with 1 cup and add more if needed.
- Add water to bag: Carefully pour the hot water directly into your freezer Ziplock bag with the beans and rice. It’s worth noting that there is a debate over whether this practice could be harmful to your health. Alternatively, you can add the beans and rice directly into your pot, though this requires a bit more cleanup.
- Stir and Seal: Use your spoon to stir thoroughly, making sure all the ingredients are submerged. Squeeze out any air again and seal the bag tightly. (once sealed place back in your pot)
- Wait 10-15 minutes: This is the hard part – patience! 10 minutes is usually good. (brown rice takes a bit longer to rehydrate)
- Enjoy! Carefully open the bag, fold the edges over the rim of the pot (this method works with this style of pot), give it a final stir, and enjoy your delicious, perfectly rehydrated meal right from the bag. Less cleanup is always a win!
Method 2: Cold Soak
- Add water: Add water directly to your freezer Ziplock bag or a dedicated cold soak jar with the beans and rice, ensuring all the ingredients are submerged.
- Pro-tip: On a day with sparse water sources, add your water while at the water source to save your precious drinking water for drinking.
- Stir and Seal: Stir thoroughly, squeeze out any air, and seal the bag tightly.
- Cold Soak Container Tip: You can put the food directly into the jar, but I recommend sealing your Ziplock bag and then placing it inside a durable, reusable container like a cleaned-out peanut butter or Talenti gelato jar. This method prevents leaks and makes clean-up a breeze—dirty dishes is a battle I choose not to fight on the trail.
- Wait several hours: This method takes time, so it’s perfect to prepare at least a few hours ahead of time if you like your rice nice and soft.
- Enjoy! When it’s ready, carefully open the bag, give it a final stir, and enjoy your delicious no-cook meal!
Tip: I recommend eating this dinner with Fritos! They’re widely available at almost every resupply point on the trail, making them a lightweight way to add a ton more calories and fat to your meals.
This simple Beans & Rice backpacking meal has saved me countless times on the trail, offering dependable comfort and crucial fuel. It might not win any culinary awards, but it will win your heart when you’re miles from anywhere and absolutely starving. Give this recipe a try for a truly reliable and satisfying plant-based meal on your next adventure!
Nutritional Information Per Serving (approx. 121g dry weight)
- Calories: ~421
- Protein: ~23g (46% DV)
- Carbohydrates: ~85g (31% DV)
- Fiber: ~9g (32% DV)
- Sodium: ~652mg (28% DV)
- Potassium: ~697mg (15% DV)
- Iron: ~5.2mg (29% DV)
- Calcium: ~59mg (5% DV)
- Vitamin C: ~96mg (107% DV)
- Thiamin (B1): ~2.5mg (208% DV)
- Riboflavin (B2): ~2.5mg (192% DV)
- Niacin (B3): ~14mg (88% DV)
- Vitamin B6: ~2.9mg (171% DV)
- Folate (B9): ~141mcg (35% DV)
- Vitamin B12: ~6mcg (250% DV)
A Note for Thru-Hikers: These percentages are based on a standard 2,000-calorie diet. As a thru-hiker, your daily caloric needs will be much higher, often between 4,000 and 6,000 calories per day, so your actual daily values will be different!
Fugitive’s Protein Power-Up Tip
TVP (Textured Vegetable Protein) is incredibly light for its protein punch. I always carry a separate bag with 1/2 cup (50 grams) of it, which packs about 26 grams of pure protein, to add to any meal when I need an extra boost.
Keep on trekking, y’all – Fugitive